
When you’re knitting a garter stitch shawl, you’ll typically end up with an accessory that’s reversible and you’ll also have a choice whether to make the increases along the central spine visible or (nearly) invisible.
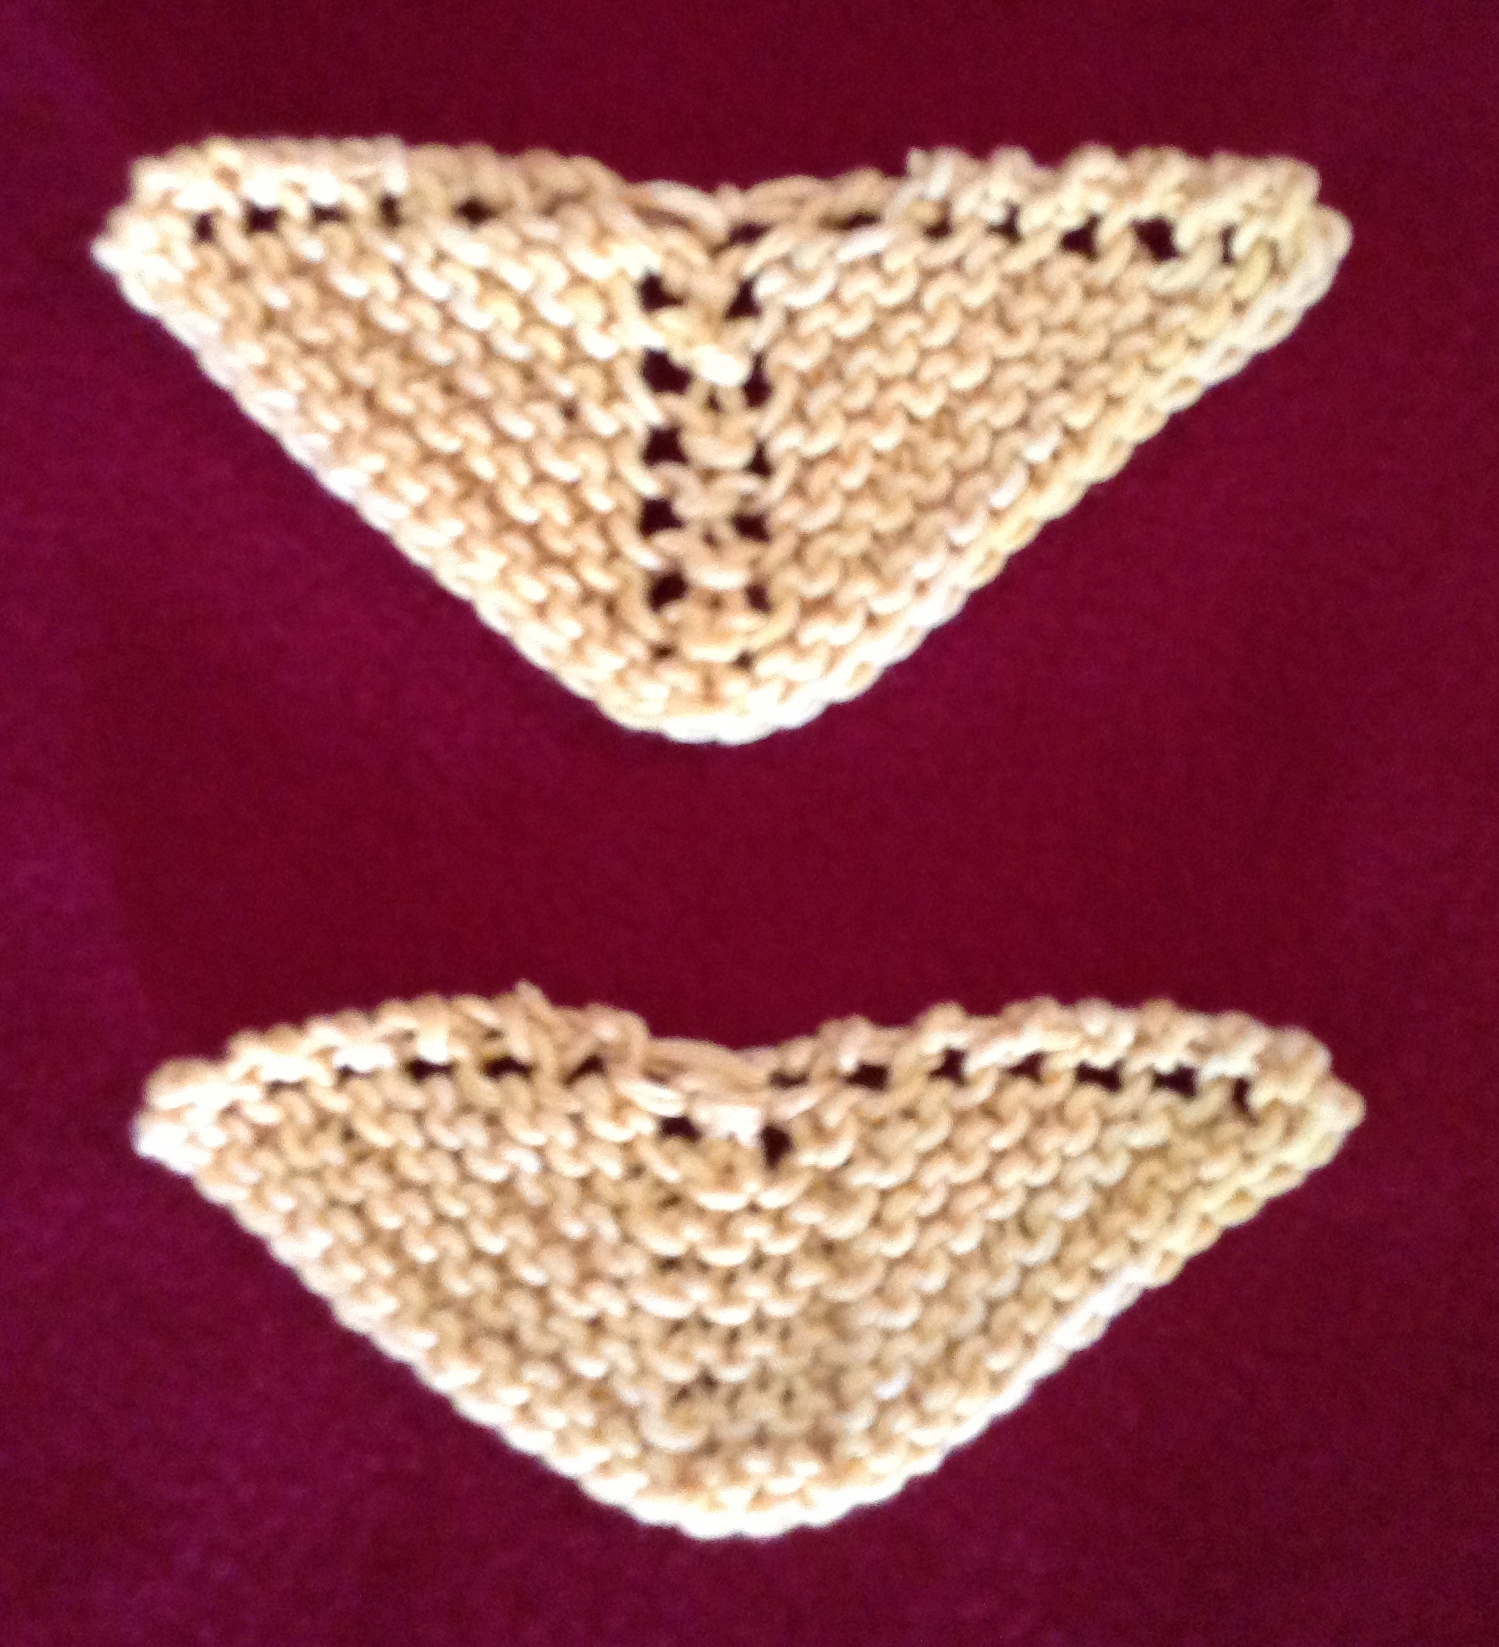
If your design includes some eyelet or lace stitches, you might want to make the spine increases visible to add to the overall open or lace effect. If your pattern doesn’t incorporate lace you might want to make these increases less visible, creating a less interrupted fabric.
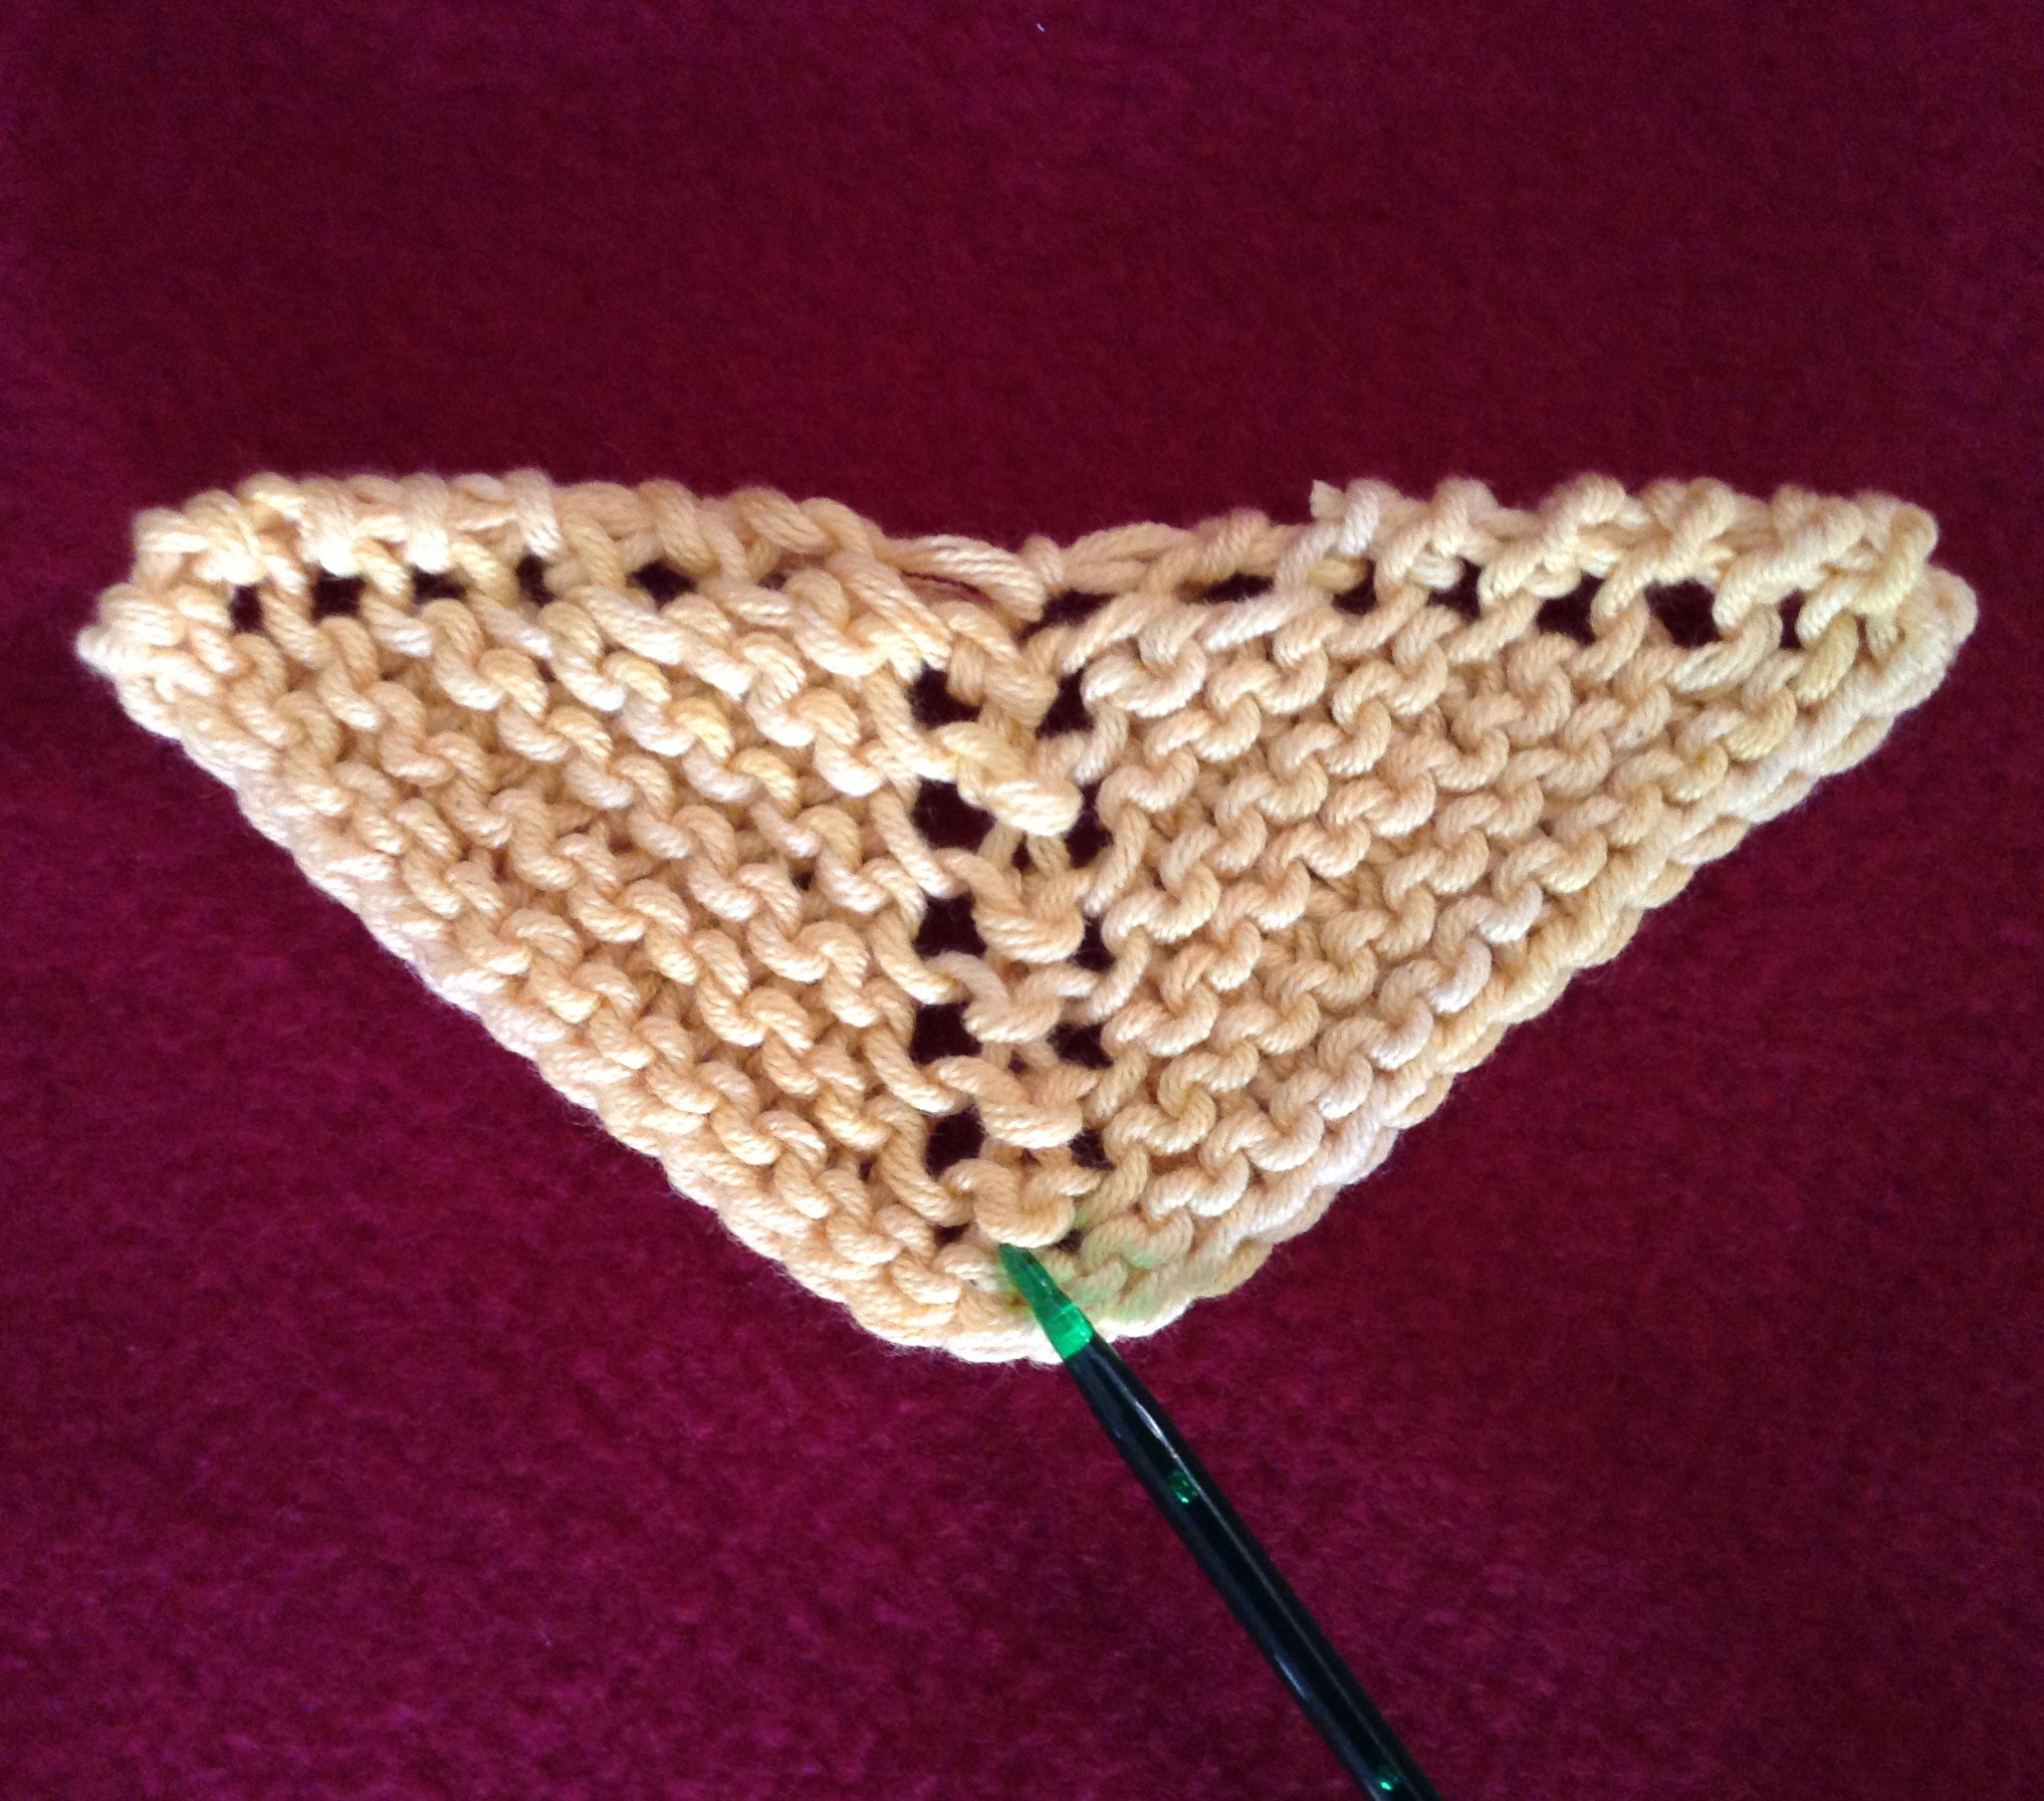
Here’s a way to construct a simple triangular, top-down shawl. Whether you’re looking to make the central spine increases visible or invisible, start out like this (abbreviation key at end of instructions):
CO 3 stitches
Row 1: K1, YO, K1, YO, K1 (5 stitches)
Row 2: Knit across
Row 3: K1, YO, K1, YO, PM, K1, PM, YO, K1, YO, K1 (9 stitches)
Row 4: Knit across
For visible central spine increases, continue as follows:
Row 5: K1, YO, K3, YO, (PM) K1, (PM) YO, K3, YO, K1 (13 stitches)
Row 6: Knit across
Row 7: K1, YO, K5, YO, (SM) K1, (SM) YO, K5, YO, K1 (17 stitches)
Row 8: Knit across
Row 9: K1, YO, K7, YO, (SM) K1, (SM) YO, K7, YO, K1 (21 stitches)
and so on…
As you can see, for each odd-numbered row you start with K1, YO, and knit across to the center K stitch, and do a YO on each side of it, slipping the markers to keep them on each side of the central K stitch. YO before the last stitch, K1 (on each right-side row you’ll increase 4 stitches).
You continue this way until the shawl reaches the dimensions you want, and then bind off loosely.
For invisible central spine increases, continues as follows (after the first 4 rows):

Row 5: K1, YO, K2, KFB, (PM) K1, (PM) KFB, K2, YO, K1 (13 stitches)
Row 6: Knit across
Row 7: K1, YO, K4, KFB, (SM) K1, (SM) KFB, K4, YO, K1 (17 stitches)
Row 8: Knit across
Row 9: K1, YO, K6, KFB, (SM) K1, (SM) KFB, K6, YO, K1 (21 stitches)
and so on…
As you can see, for each odd-numbered row you start with K1, YO, and knit across to the stitch before the marker and KFB in that stitch, SM, K1, SM, KFB in next stitch, knit across until you have 1 stitch left on your left needle, and then YO, K1 (on each right-side row you’ll increase 4 stitches).
Next week, I’ll show you how this is done in stockinette stitch.
Abbreviations:
CO (cast on)
K (knit)
KFB (knit in the front and back of the stitch)
YO (yarn over, to increase 1 stitch)
PM (place marker on needle)
SM (slip marker to other needle)
See my shawl patterns on Ravelry and Craftsy, and some of my hand-knit shawls on Etsy.
Happy knitting!
MikeH
Love the centre , so much more interesting, how is the cast off done, and approximate size I should make. Kindly, Northknitter
Dear Northknitter,
Thanks for your comment and question. You can use any stretchy bind-off, and I actually prefer the Russian bind-off for this type of garter stitch shawl (http://knitting.wikia.com/wiki/Russian_cast-off).
As for size, you’d probably want the top edge (not the stitches on your needles) to measure at least 48 inches or more – depending on how much of a wrap-around you’re looking for.
Happy Knitting!
Michael