Garden at Nighttime with Larger Needles; Did You Know…?

Patterns available on Ravelry
Accessories available on Etsy

gm1

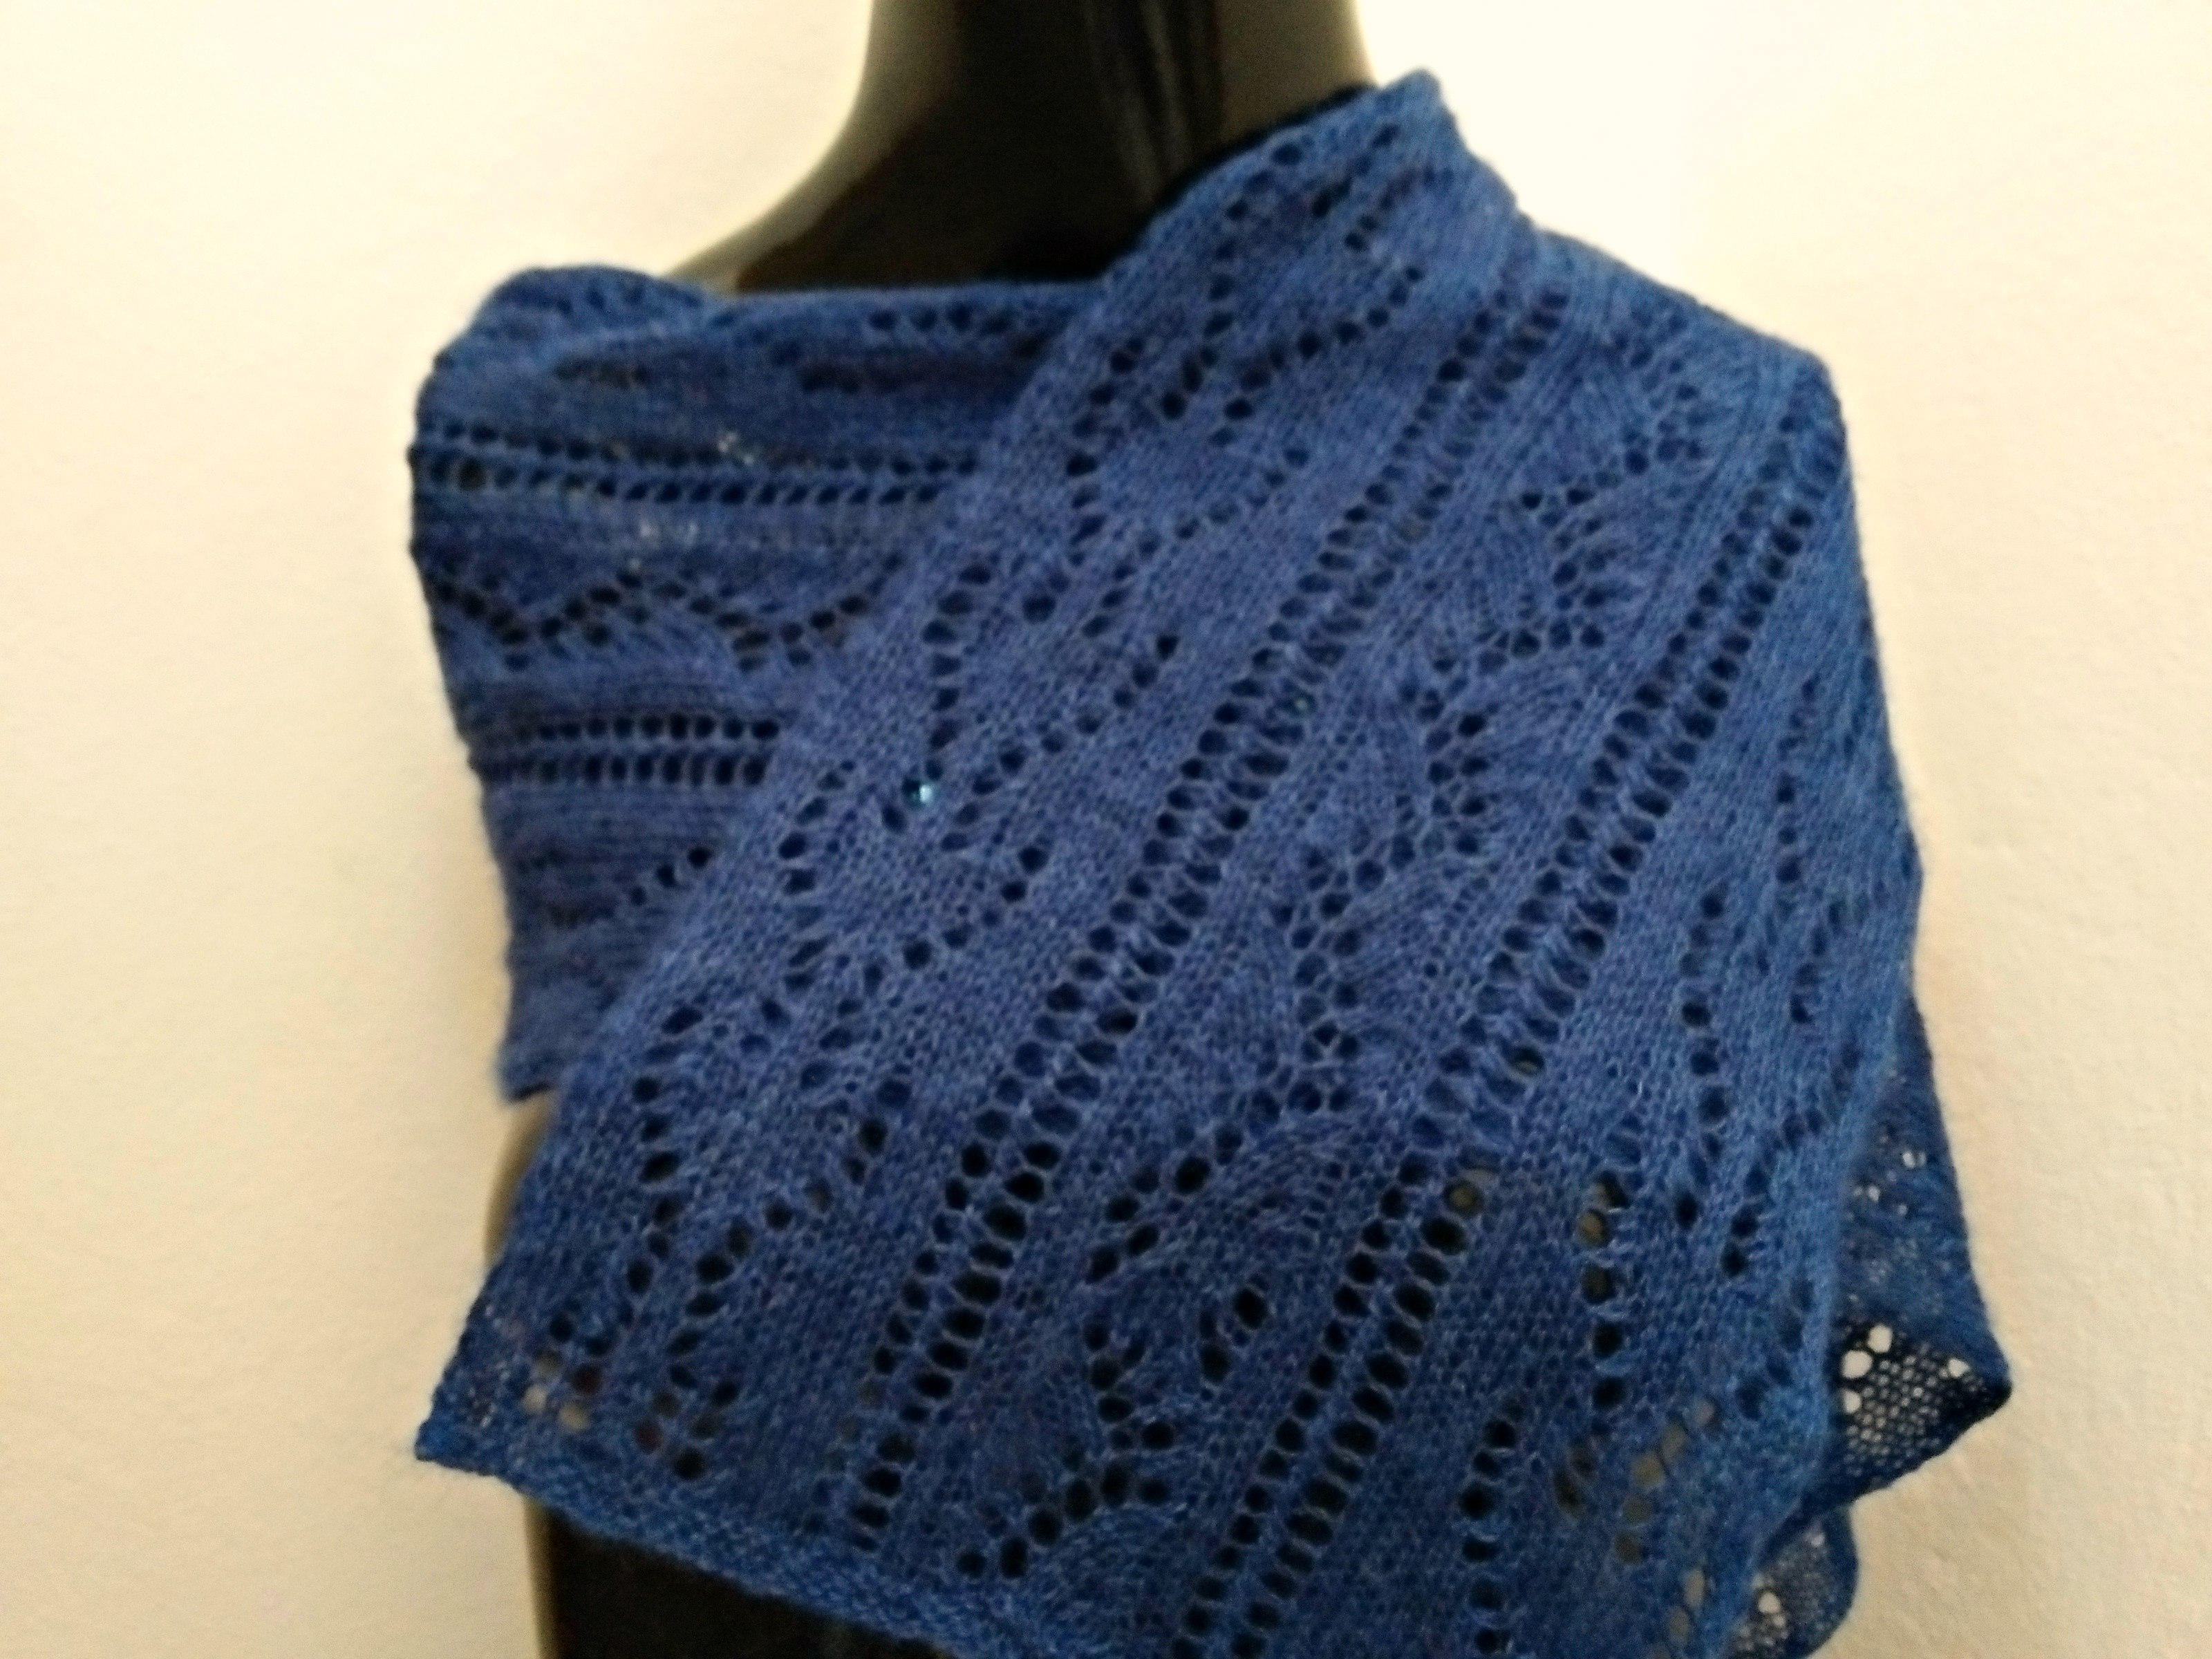
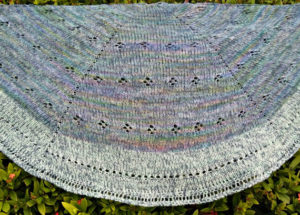
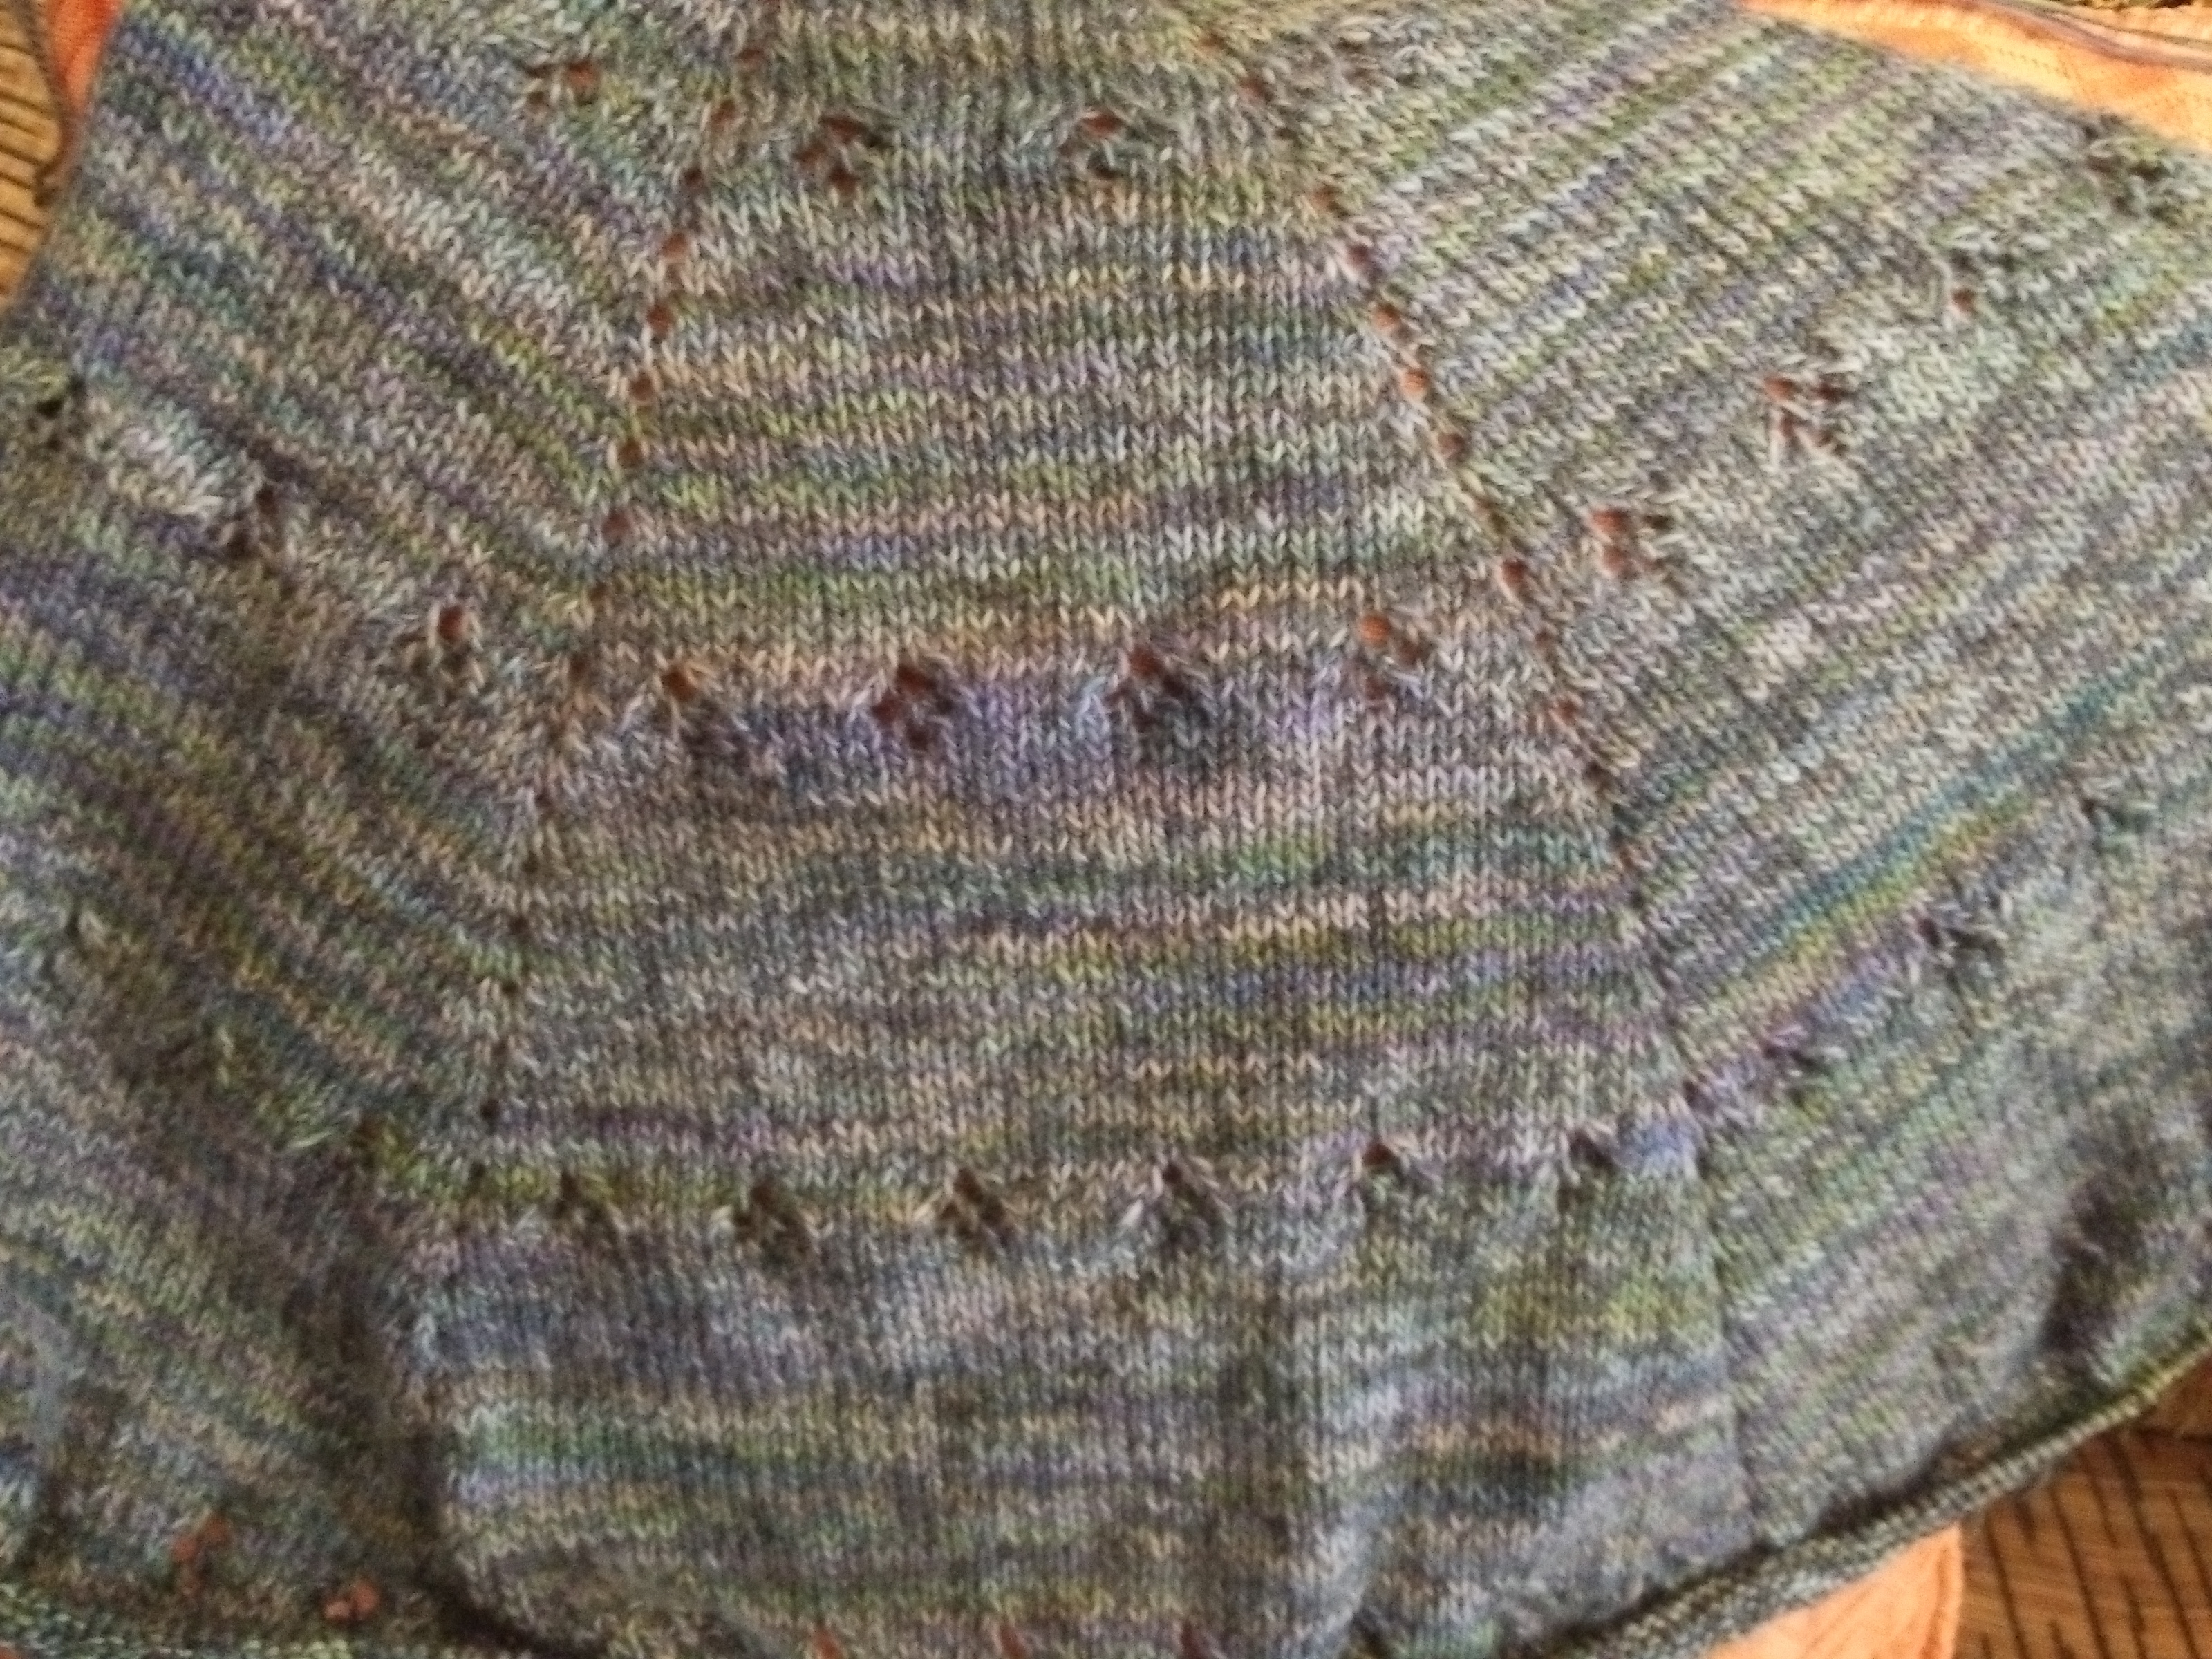
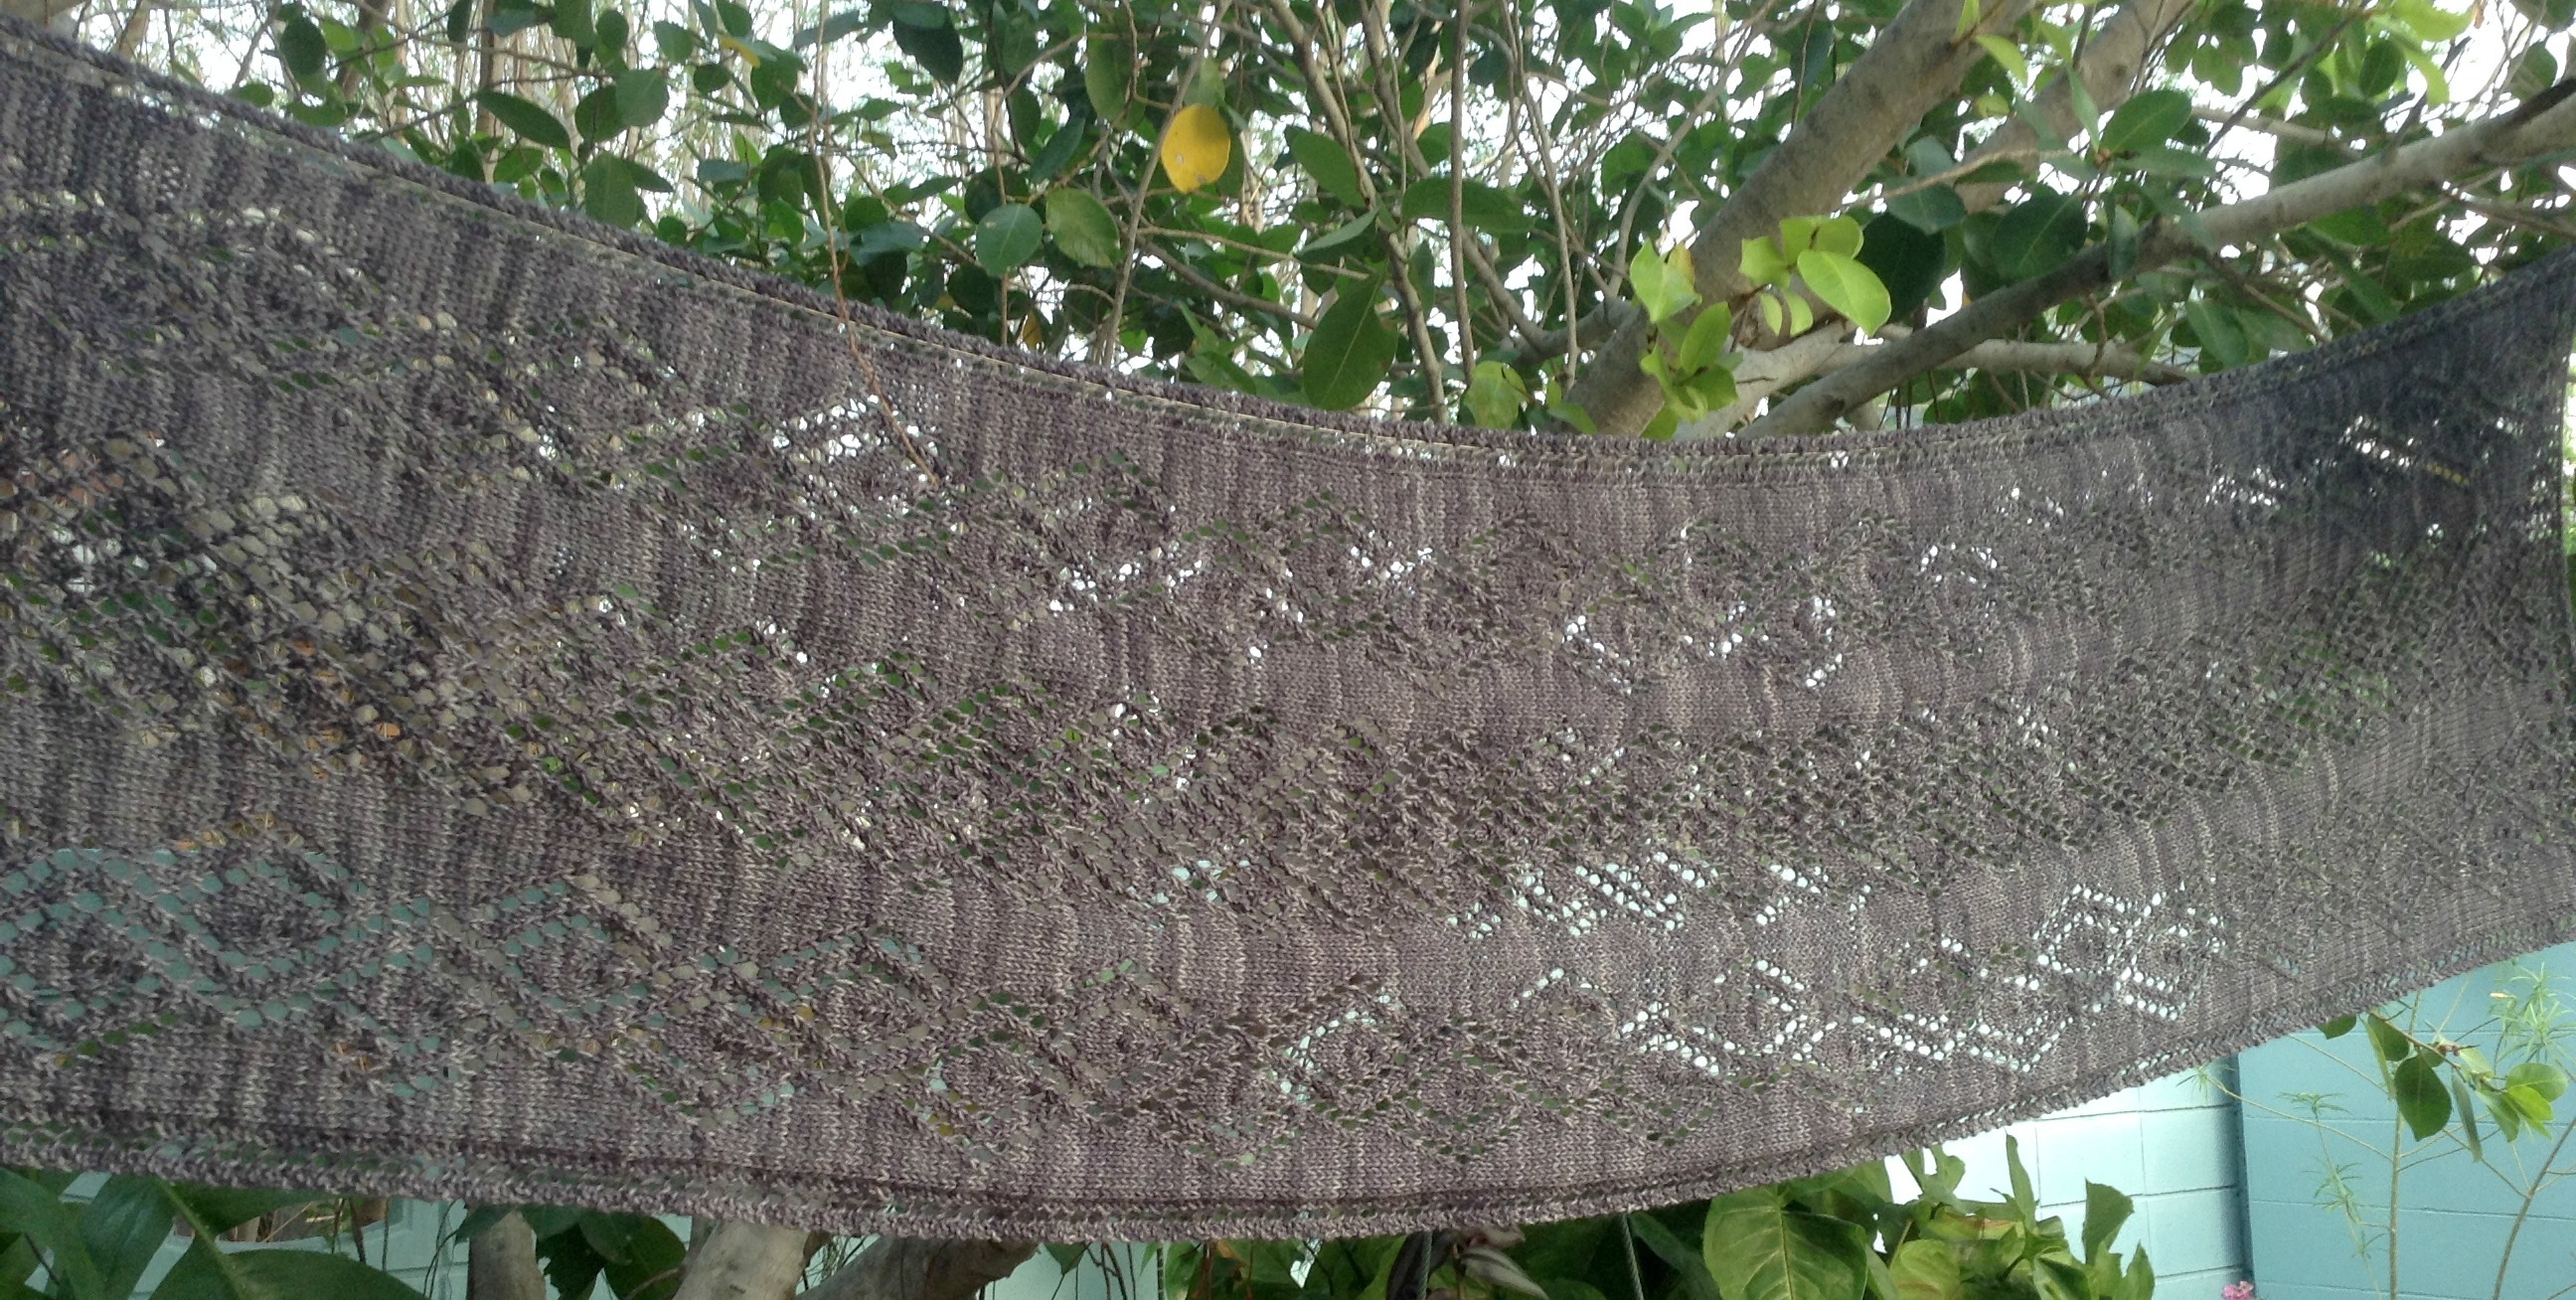
This light-as-air, soft-as-silk Garden at Nighttime scarf is an original design hand knit by me. The inky blue yarn is a washable blend of silk, extra-fine merino wool, and kid mohair. The color is a deep, vibrant blue, and it measures 9.5×56 inches (24×142.25 cm).

On a recent trip to England I stayed at a country hotel that was surrounded by traditional gardens of flowers, vines and shrubbery. Fortunately jet lag woke me up in the middle of the night and I spent some time looking out into the garden after dark and was inspired by the outlines of blossoms and tracings of vines and branches.

This design attempts to incorporate some of what I remember.

gm4

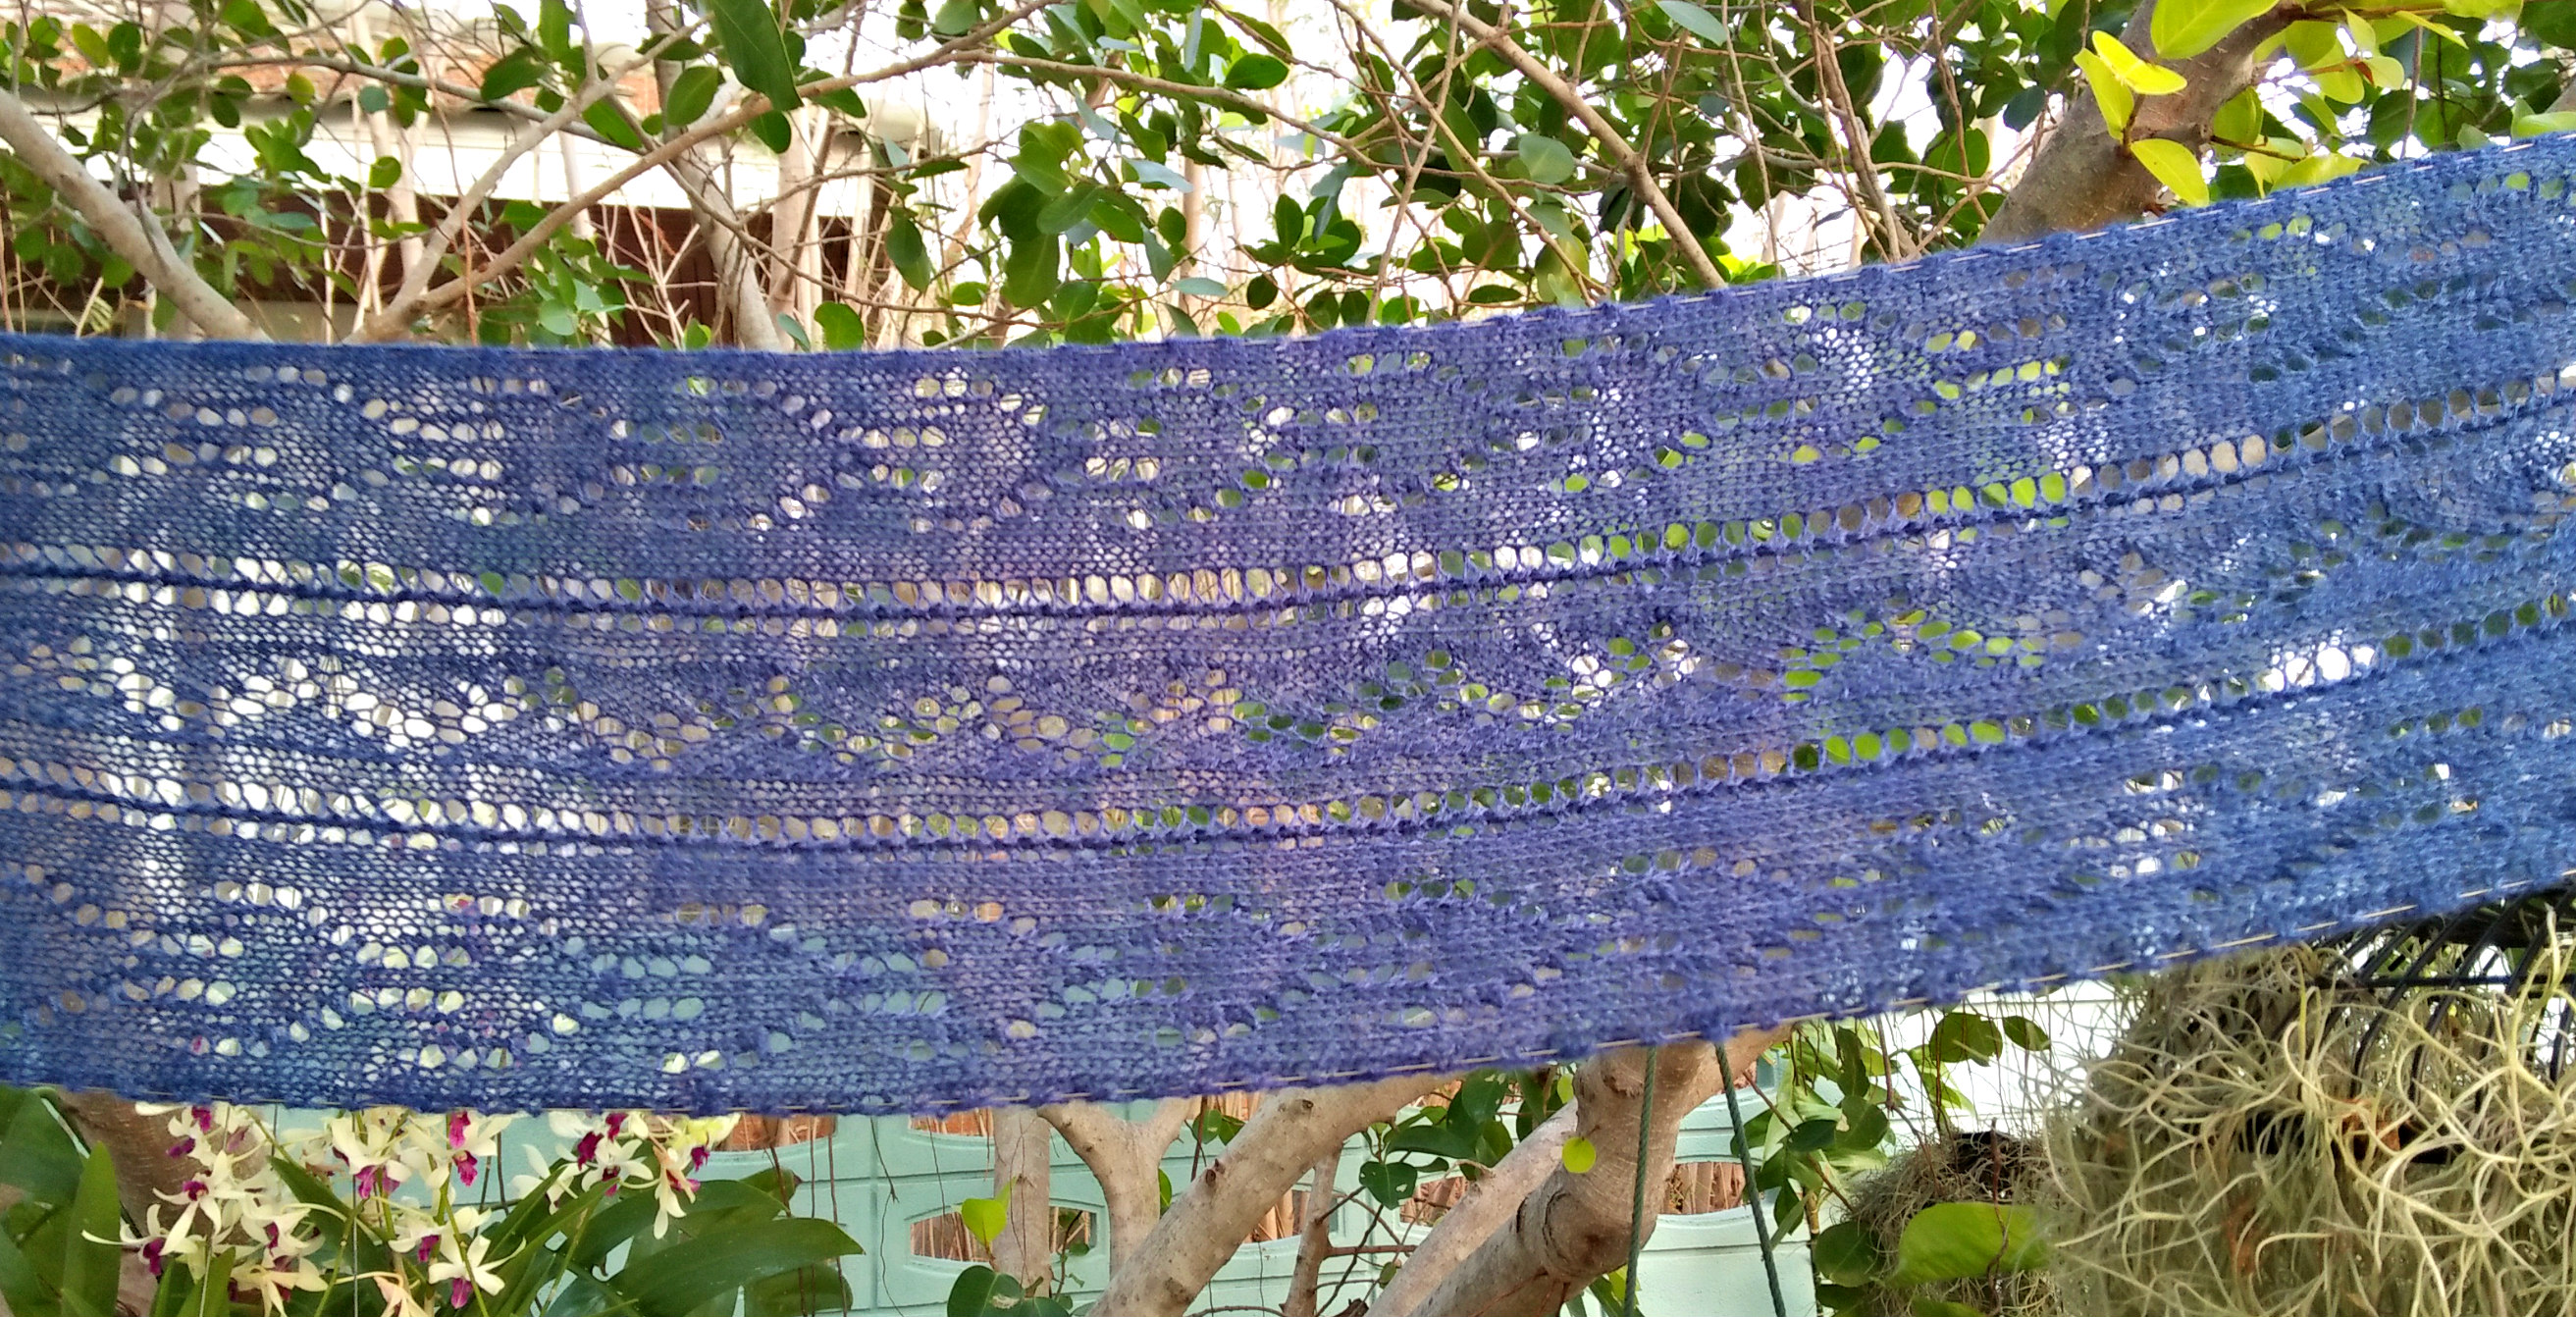
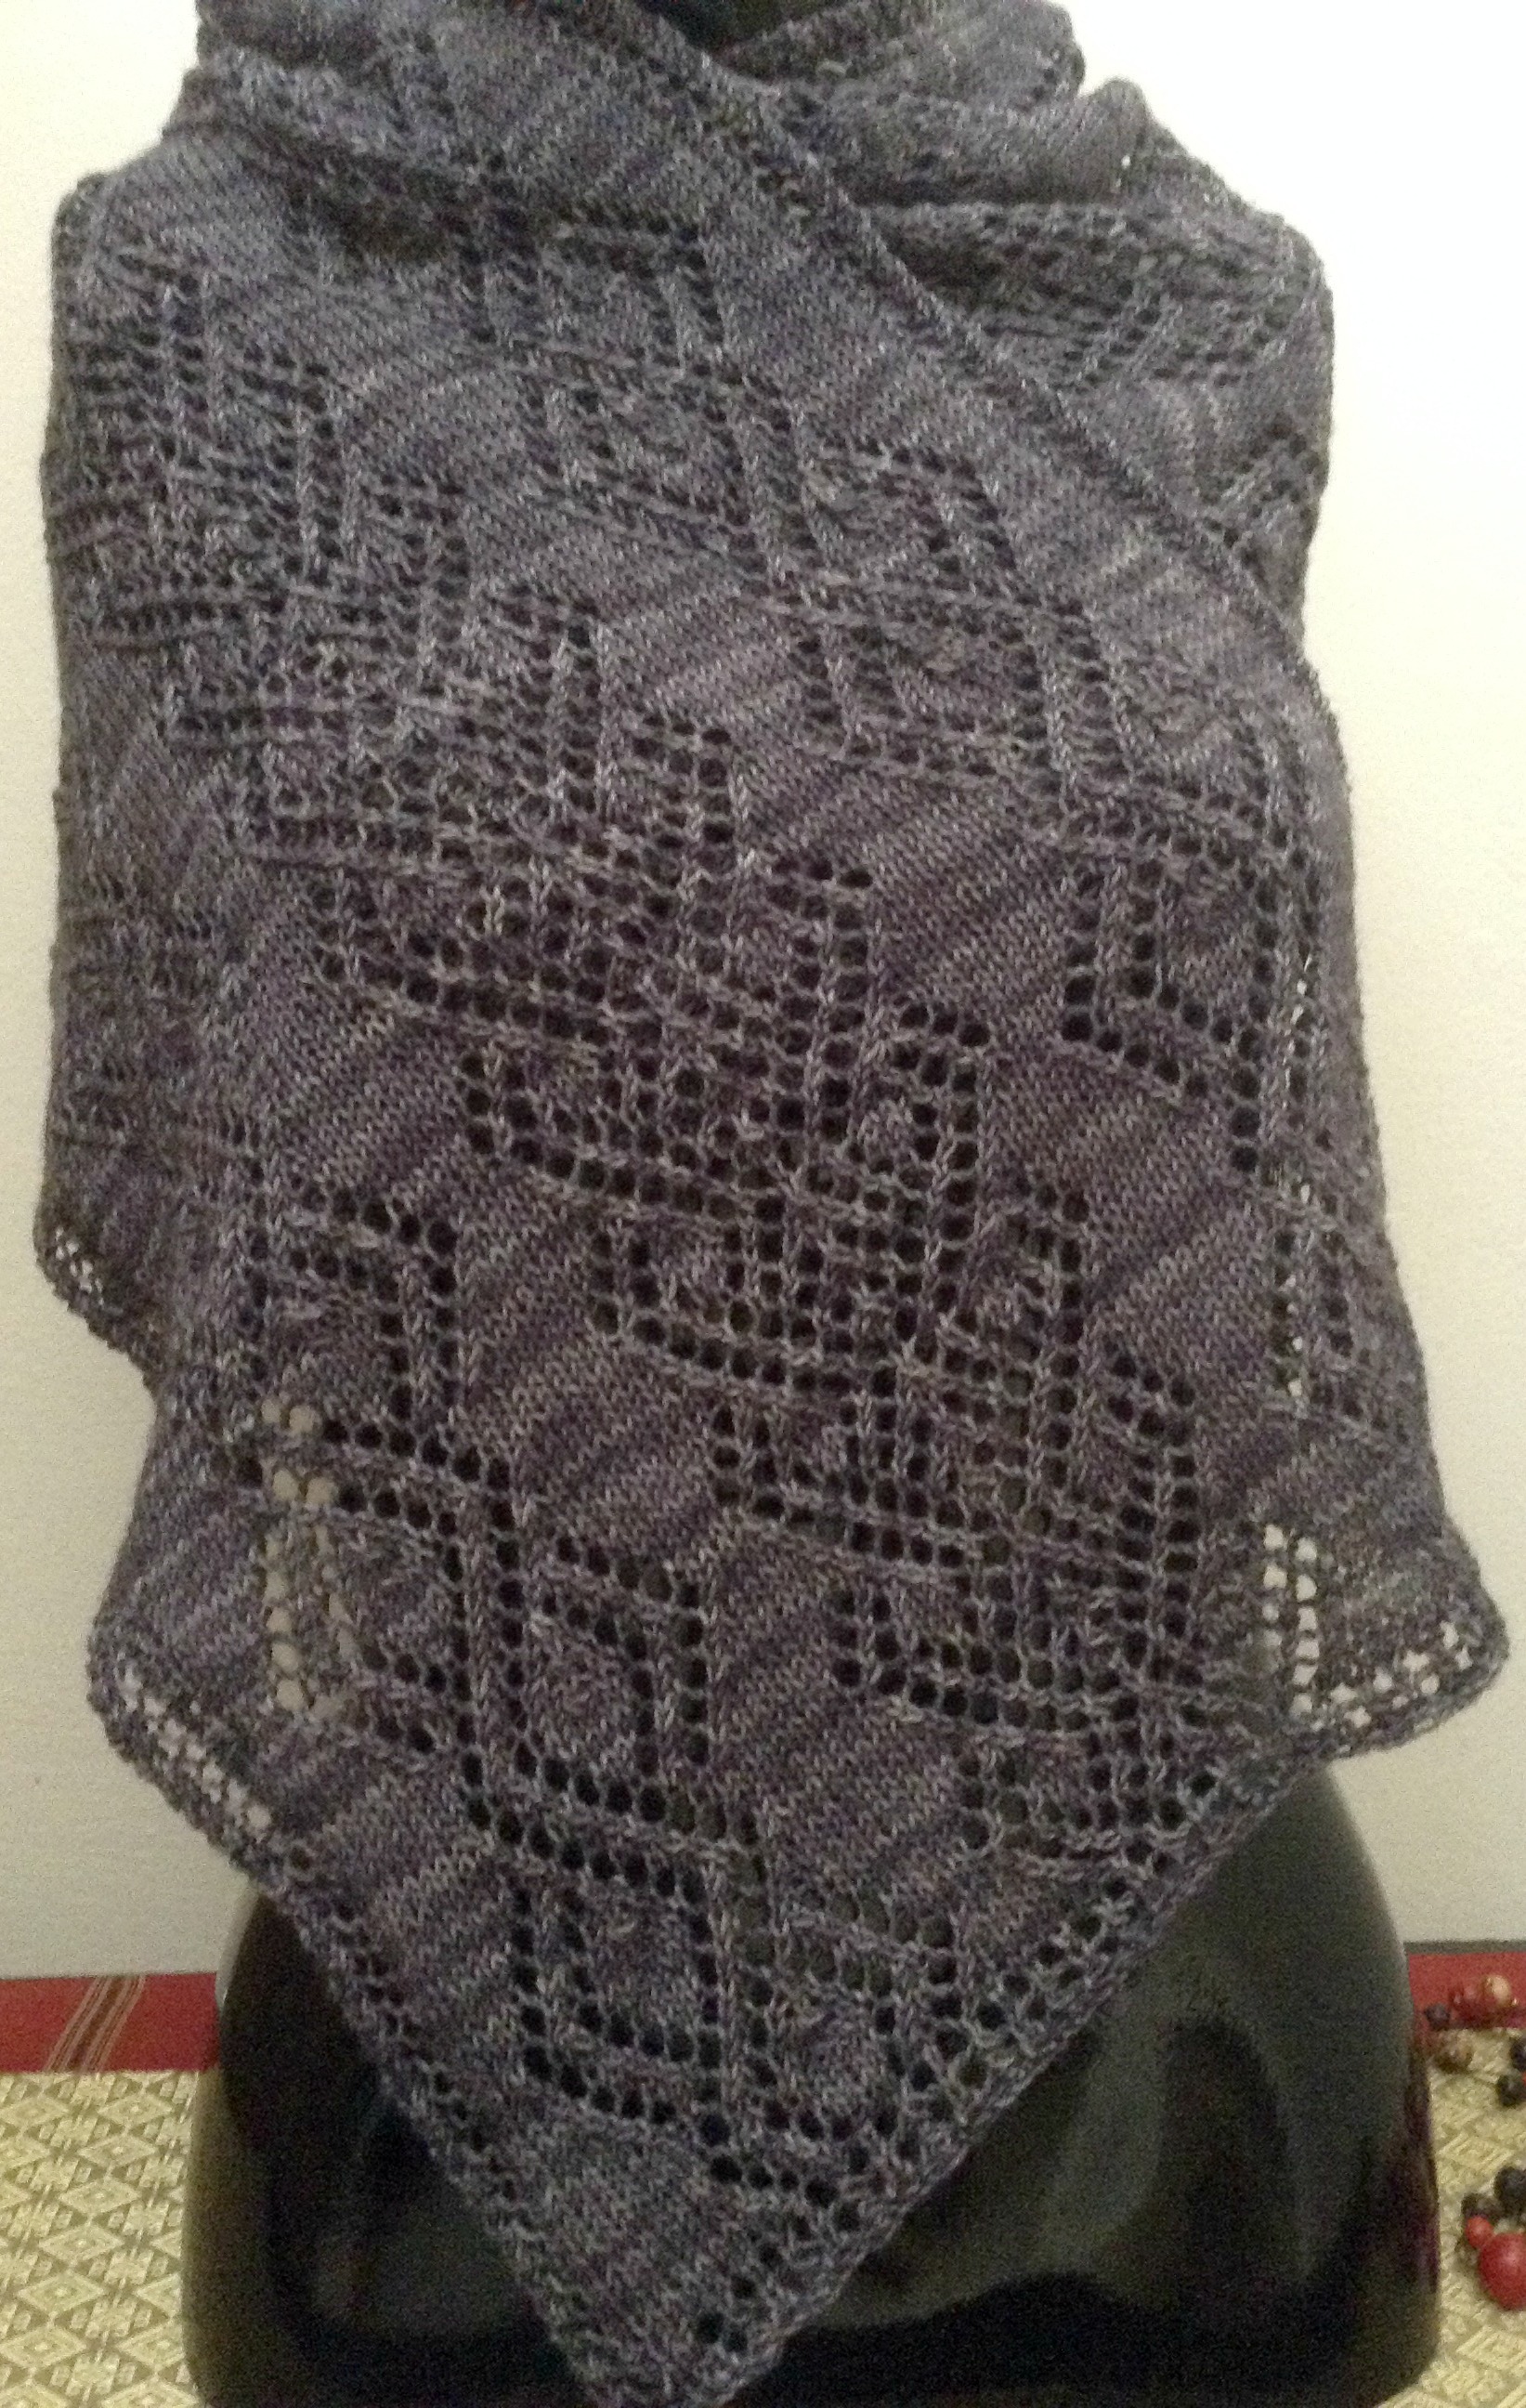
The scarf pictured here, which is available on Etsy, is a bit of a variation on the original pattern in that I used needles one size larger (US3/3.25mm instead of US2.5/3mm) as I wanted the lace pattern to be more open and prominent.

“Did You Know…?”

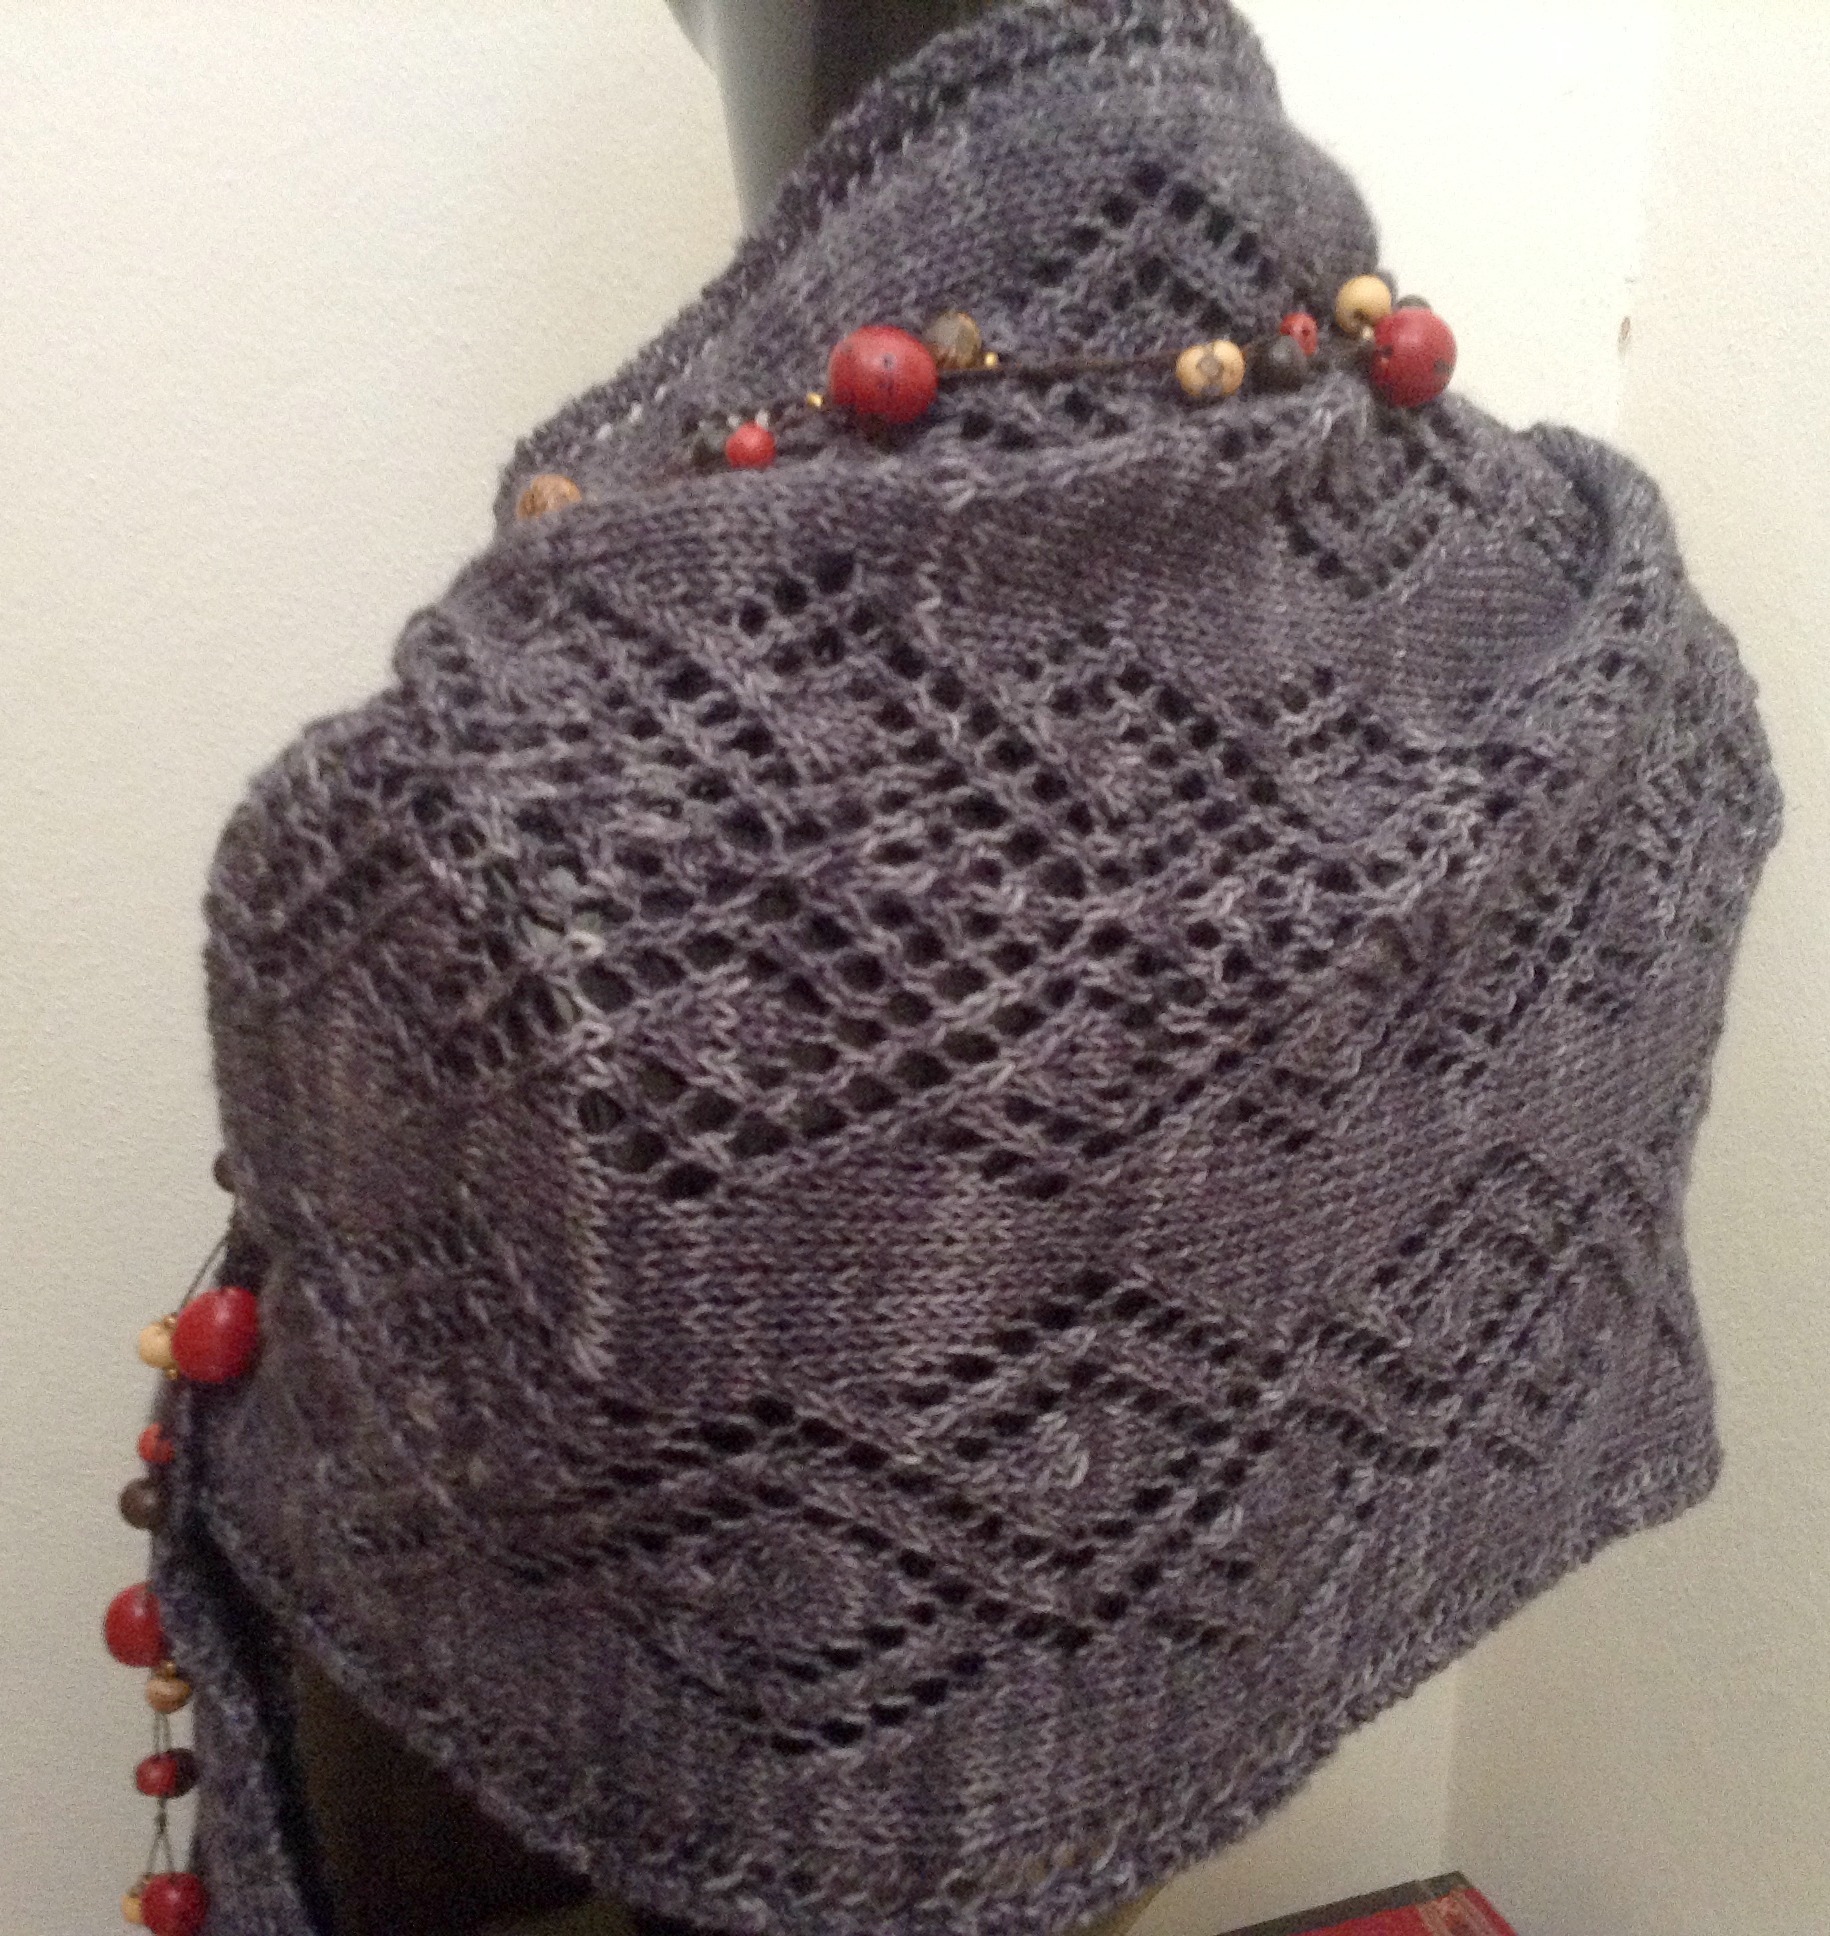
Using a larger-sized knitting needle in a lace pattern can mean using less yarn to achieve the finished size and also knitting fewer pattern repeats. For example, in the scarf pictured above, only 21 pattern repeats were required with the larger sized needles rather than 27 repeats.

You might want to consider this in rectangular shawls and wraps if you’d like the design to be even lacier than pictured in the original pattern. Be sure to use the weight of yarn called for if you want to achieve this.

Happy Knitting!
MikeH

Country Chic Variation; Did You Know…? (Open Increases in Knitting)

Patterns available on Ravelry
Accessories available on Etsy

CC2

This is a variation on my Country Chic Semicircular Shawlette pattern.

Head into spring in style with this heathery tweed combination of silk and fine merino wool.

I knit this shawlette/scarf with 2 strands of lace weight yarn. One yarn is a semi-solid charcoal grey (silk/merino bend) and for the upper part the other yarn is a blue-green variegated colorway (100% merino).

For the lower part of the shawlette, I combined the charcoal grey with a lighter blue-green colorway.

You’ll find rows of quatrefoil eyelets at regularly-spaced intervals, and at the bottom of the shawl, a knit-on edging with a single eyelet in each row.

The dimensions are:
43 x 19 inches (109 x 48.5 cm)

Pattern on Ravelry. Accessory available on Etsy.

Did you know…?

You may already know how to work increases in your knitting, but did you know that in knitting a semicircular shawl you can separate the 3 sections (or wedges) with increases that resemble a column of eyelets?
CC1

This is done with a combination of M1R and M1O stitches.

Immediately before the increase stitch separating the wedges/sections of your shawl, do the following:

  • in the horizontal bar between the stitch on your right needle and the stitch on your left needle, insert the left needle under the horizontal bar from the back to the front, placing that bar on the left needle (being careful to stretch it as little as possible). Knit the stitch from the front. This is an M1R increase, and is nearly invisible;
  • knit the next stitch; and then
  • in the horizontal bar between the stitch on your right needle and the stitch on your left needle, insert the left needle under the horizontal bar from the front to the back, placing that bar on the left needle.  Knit the stitch from the front. This is an M1O increase, and leaves an eyelet opening.

I’ll look at other types of increases next week.

Happy Knitting!
MikeH

On the Needles; Did You Know (More on Stitch Tension)

Patterns available on Ravelry
Accessories available on Etsy

I have a variation on one of my earlier patterns on the needles. It’s a semi-circular shawl called Country Chic, and this time I’m knitting it with two strands of lace-weight yarn.

CC

There’s one strand of a semi-solid charcoal grey (merino and silk) and one strand of a variegated blue-to-green colorway (merino). The color’s about to change as I’m moving on to a lighter blue-to-green colorway with a strand of the grey, for the bottom and border of the shawl.

I’ve also introduced a different increase method along the two internal increase points and will explain that in detail when I show you the finished product!

Now,  for the tips of the week!

Did you know…? Stitch tension:

  1. Stockinette stitch tension
    Uneven stitches on either the front or reverse of stockinette knitting (or both) is a result of uneven tension.

    Some experts say that this can improved with practice, practice, practice, and that the stitches will likely become more even over the years. This may not be such an appealing remedy if you’d like your work to look better now, however!

    The situation may be improved by addressing the purl side of the stitch pattern. Consider the fact that most knitters purl more loosely than they knit, and that more yarn is required for a purl stitch, leading to an uneven overall pattern.

    You can try to tighten up on the yarn when making purl stitches by holding the yarn a bit more snugly and giving a bit of a tug on the yarn before working the purl stitch.

    If this doesn’t help, another possibility is to change the type of knitting needles you are using, as tension can be uneven if the yarn slips or sticks to the needle material.

  2. Seed stitch pattern tension
    Working in seed stitch should produce fabric that is tightly woven, without holes in between the knit and purl stitches.

    If you’re finding that you’re getting spaces or holes between the knit and purl stitches, this can be quite easily corrected by bringing the yarn forward more tightly between a knit and purl stitch.

Happy Knitting!
MikeH

Monochrome Wrap; Did You Know…?

Patterns available on Ravelry
Accessories available on Etsy

mw6

I wanted to reflect nature in a black-grey-white monochrome and decided to use this carbon gradient wool yarn for my newest shawl.

The rectangular Monochrome Wrap incorporates leaf and wing geometric lace patterns and the 100 per cent Blue-Faced Leicester yarn creates tonal shading and shadows throughout.

This unique accessory measures 56×15 inches (142.25x38cm).

mw7

The beads shown in the photograph are from the Ecuadorean Andes and are not included in the price (but are available for purchase).

If you’d like to buy the accessory, visit my Etsy shop.

mw2

Now,  for the tips of the week!

Did you know…? Stitch tension:

  1. K2P2 ribbing stitch tension
    In K2P2 ribbing many knitters find that the second K stitch (before the first P stitch) is larger than the first K stitch – sometimes quite a bit larger. You can improve the look of the knit stitches in your K2P2 ribbing by using this simple tension-improving technique:

    After the K2, move your yarn tightly to the front of your work for the first P stitch, giving the yarn a bit of a tug, and this will provide a better finish to the second K stitch that you’ve just completed.

  2. Selvedge (beginning and end of row) stitch tension
    You can improve the look of your knit stitches (in stockinette patterns) at the beginning and end of rows (selvedge stitches) by using another simple tension-improving technique:

    If your problem with loose, oversized stitches is limited to the first and last 1-2 stitches in the row, try this. At the beginning of the row, work* the selvedge stitch and leave it on the left needle. Then insert your right needle into the second stitch and give the working yarn a bit of a tug. Work* the second stitch and then remove both stitches from the left needle.

    [By “work” I mean K or P, depending on the row]

    If you have any questions or comments, please log in and let me know.

    Happy Knitting!
    MikeH