This photo tutorial is meant to accompany my Two-Color Fair Isle Wrap pattern in the Fall 2020 issue of Cast On magazine. It may be useful to others looking for basic information on steeking. In this case, the steek is formed by five stitches of alternating colors.
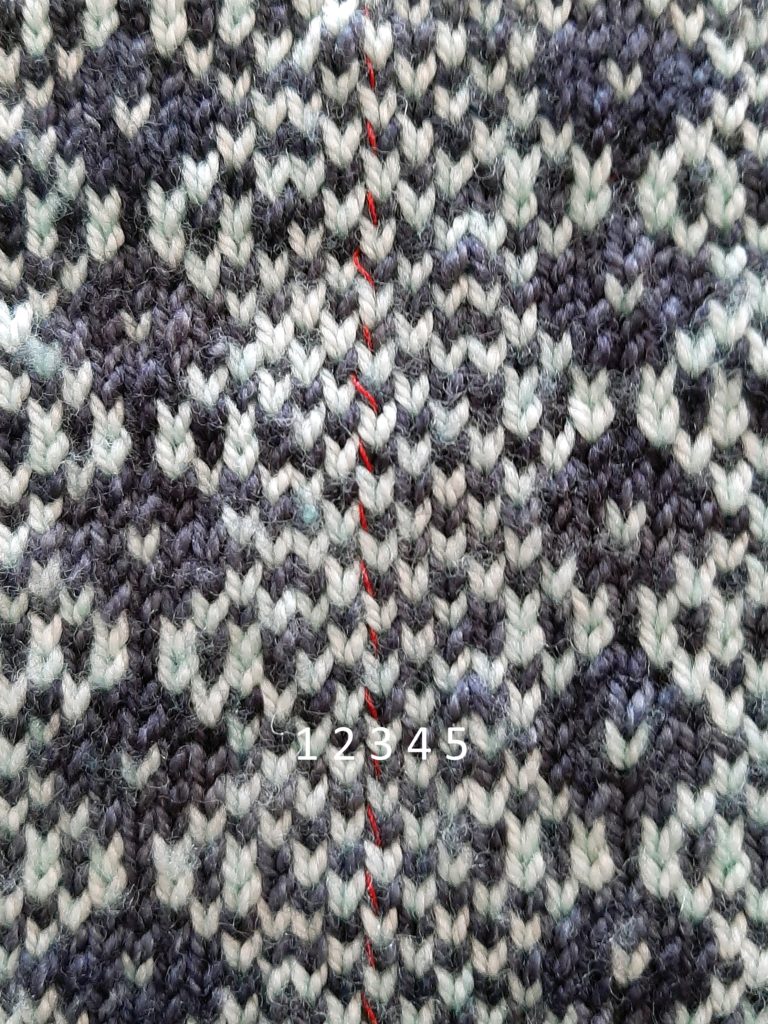
As you can see in the image below, the first step is to mark the stitch column where you will cut. The red thread is run along the left leg of the center stitch (column 3). The actual cut will be made in the center of that stitch, just to the right of the red thread.
After marking the center stitch, it is important to secure the steek so that the stitches do not unravel when cutting. With some yarns – Shetland wool, for example – the fibers “stick” together and little or no securing before cutting is necessary. That is not the case with smoother yarns – such as the ones used in this wrap.
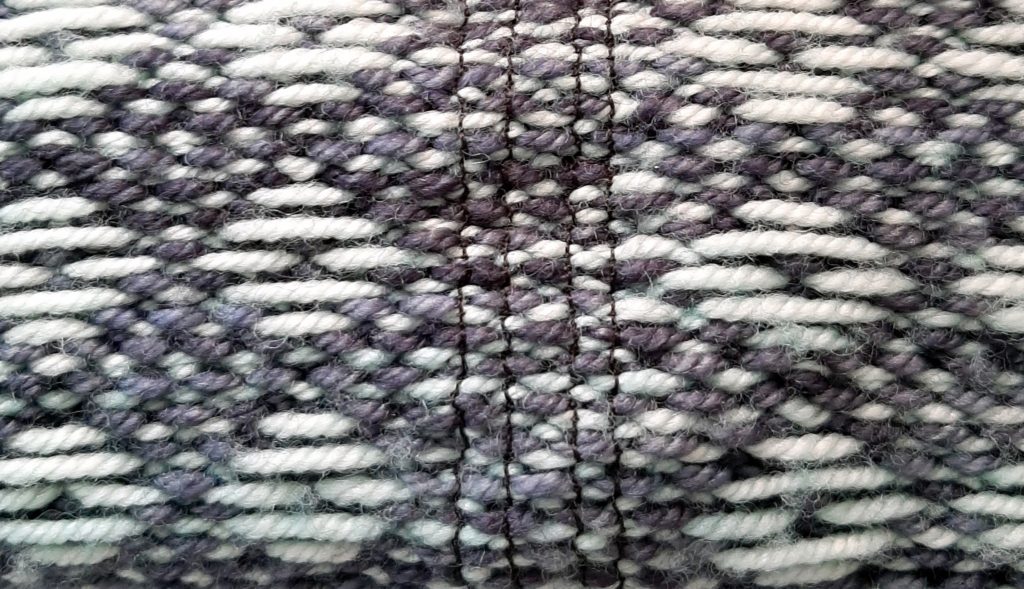
The photo below shows the reverse side of the steek after machine sewing: it is not all that visible from the public side as I used a dark grey/black thread. The reinforcement involves sewing through the center of the stitch column next to the center stitch (numbers 2 and 4 in the photo above), and also through the center of the next stitch column – on both sides of the center stitch (numbers 1 and 5 in the photo). You will have 4 rows of stitches.
Cutting the steek is next. Following along the red line of stitches, cut through the center of the center stitch (number 3).
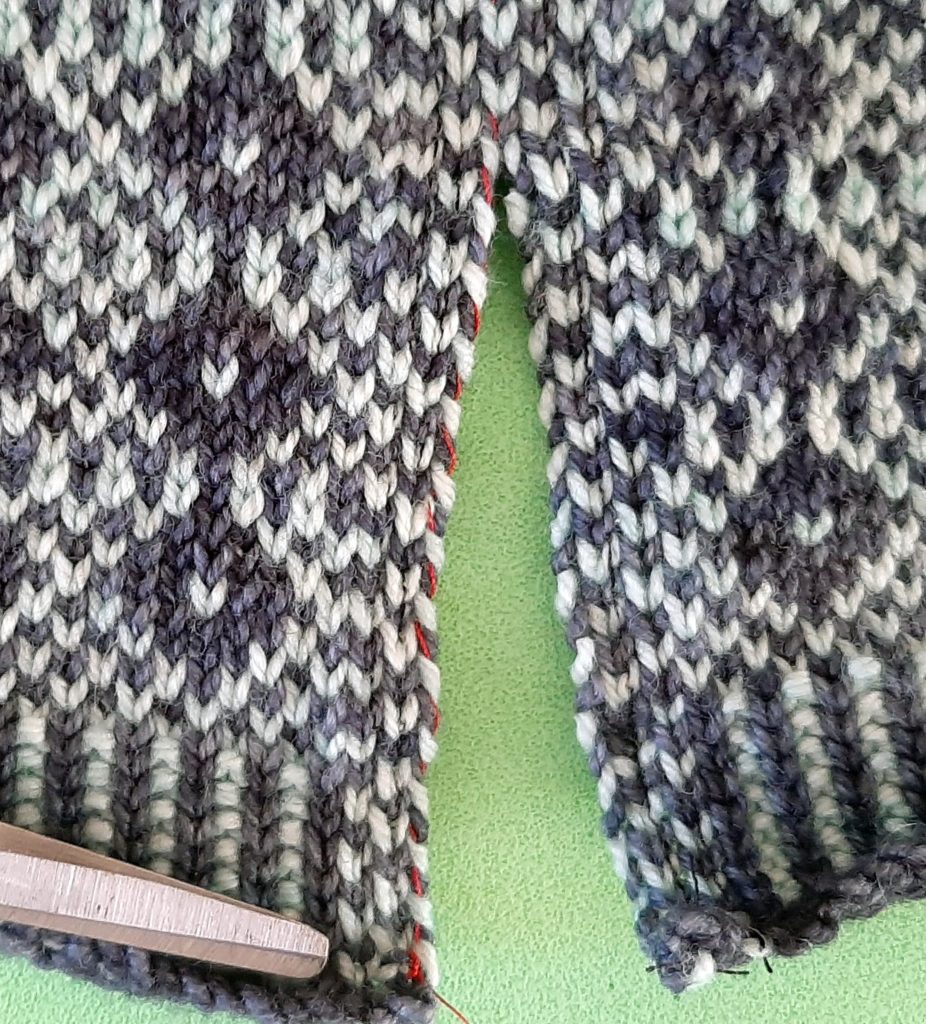
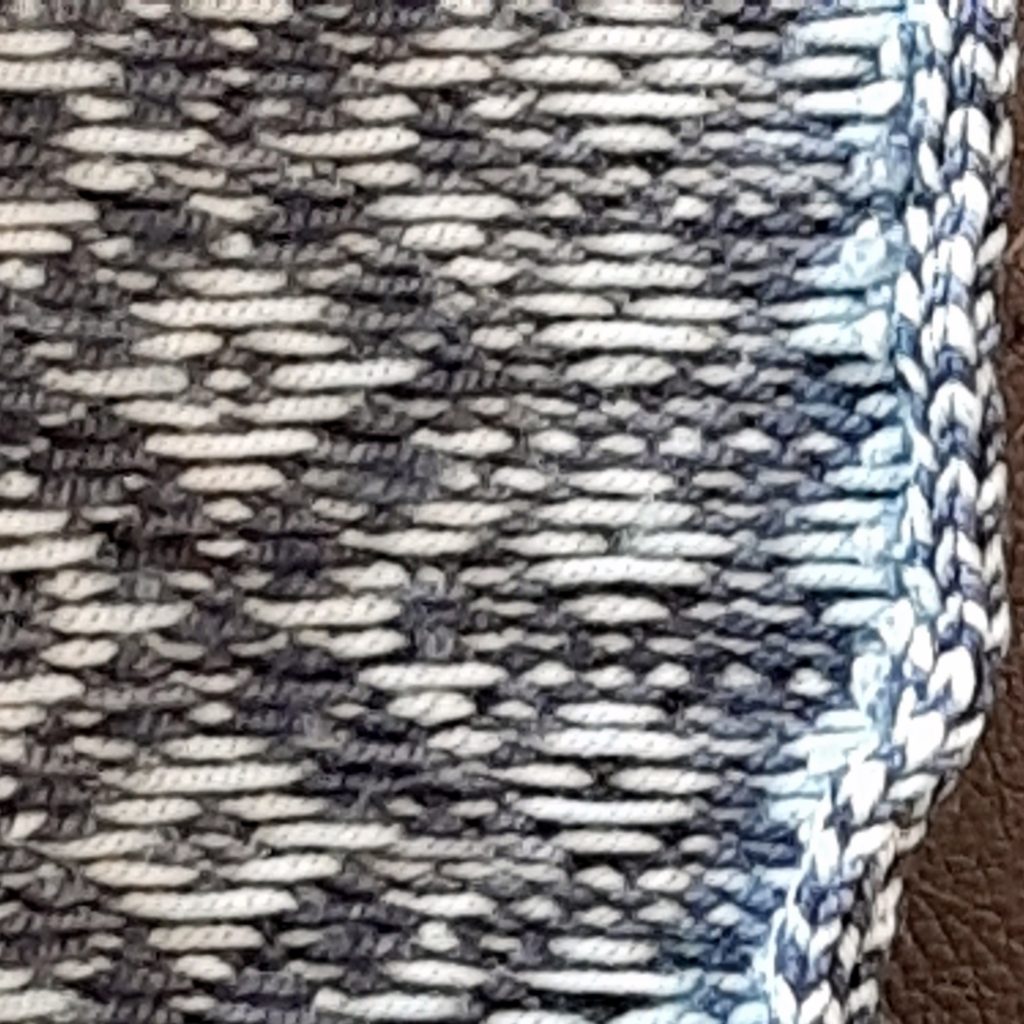
Fold along the edge of the second stitch column from the center column (to the left on one side and to the right on the other (numbers 1 and 5). There will be 2-1/2 columns folded under on each side of the steek.
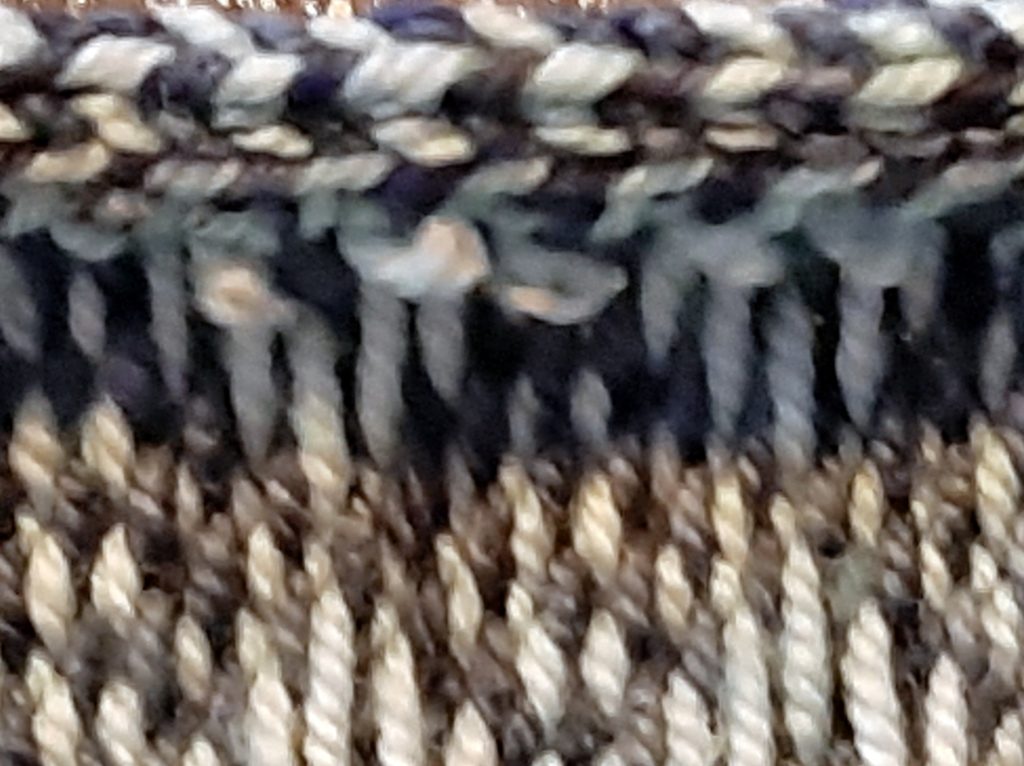
With the lighter color yarn, tack the folded stitches down by hand as shown in the next photo – between stitch column 4 and 5 on one side and 1 and 2 on the other. Run the tapestry needle under the corresponding float and then between the two stitch columns as indicated. keep the stitches snug but not overly tight.

As you’ll see from the photo below, the finished edge with not be straight or flat – yet. This will be taken care of with blocking.
So, now would be a good time to block the wrap. When it is still wet, pin it to measurements, ensuring that the finished edges of the steek are straight and that a column of stitches evenly forms the edge.
I hope you found this helpful. Leave a comment if you have any questions.